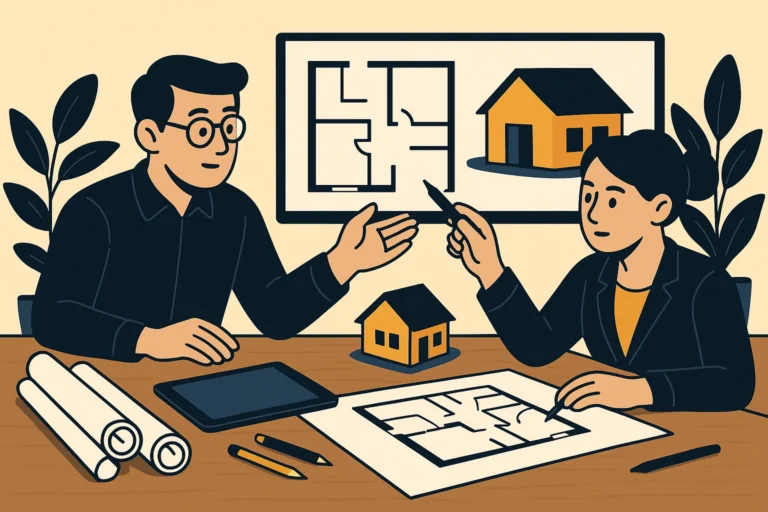
Designing a custom home floor plan from scratch can feel overwhelming — especially if you’re doing it for the first time. But with the right guidance, tools, and mindset, creating a home layout that reflects your lifestyle and future needs can be one of the most exciting parts of the building journey.
At HomeBuildingDesigns.com, we’ve helped hundreds of homeowners bring their dream layouts to life — efficiently and affordably. This beginner-friendly step-by-step guide will walk you through how to plan your custom home floor layout like a pro.
Step 1: Define Your Lifestyle Needs and Goals
Start by asking: What do you need from your future home? Do you work remotely? Host guests often? Need room for kids, pets, or hobbies?
Make a list of must-have spaces:
- Number of bedrooms and bathrooms
- Dedicated home office or study area
- Open kitchen-dining-living space
- Storage, pantry, or mudroom
- Outdoor space like patios or balconies
Also, consider your future needs — whether you plan to expand your family or age in place.
Step 2: Set Your Budget and Plot Size
Your available plot area will determine how much can be built on ground vs. upper floors. Measure your plot accurately and cross-check with local zoning regulations (like setbacks, floor area ratio, and height limits).
Then set a realistic construction budget. This will help decide whether you go for a single-floor home, duplex, or more compact layout.
Step 3: Choose a Home Style
Before you get to floor planning, define the architectural style of your home. Are you leaning toward:
- Minimalist / modern
- Traditional or colonial
- Farmhouse or cottage
- Industrial / urban
Each style influences the flow, room proportions, and materials — so it’s good to align your vision early.
Step 4: Sketch a Rough Layout (Zones First!)
Begin with zoning — dividing your space into 3 key categories:
- Public zone: Living room, dining, guest bath
- Private zone: Bedrooms, study, master bath
- Service zone: Kitchen, laundry, pantry, utility
Sketch rough rectangles on paper or use a digital floor planner. Focus on:
- Entry point location
- Natural light direction
- Room flow and accessibility
Step 5: Plan Room Sizes and Placement
Once zones are set, detail the rooms. Consider these approximate sizes:
- Living Room: 180–250 sq. ft.
- Bedroom: 120–150 sq. ft.
- Kitchen: 100–130 sq. ft.
- Bathroom: 40–60 sq. ft.
Keep related rooms close (like kitchen and dining), and minimize long hallways that waste space.
Step 6: Think Vertical and Multi-Use
Compact plots? Think vertical! Plan staircases smartly — ideally near entrances to save central space. Use lofts, under-stair storage, or mezzanine levels where needed.
Also plan multi-use spaces:
- Study/guest bedroom combo
- Kitchen island doubling as a work desk
- Utility area with foldable ironing setup
Step 7: Add Windows, Ventilation & Lighting Flow
Natural ventilation and daylight are critical. Place windows along longer walls and in bathrooms or kitchens. Use skylights or interior courtyards if needed.
Also visualize artificial lighting — recessed ceiling lights, pendant lights, and wall sconces based on function and mood.
Step 8: Finalize with a Pro Designer
Once your concept is ready, it’s time to work with experts who can:
- Turn sketches into accurate 2D/3D plans
- Suggest structural tweaks
- Provide a ready-to-build layout in PDF/DWG formats
At HomeBuildingDesigns.com, we offer unlimited revisions, professional support, and complete delivery in 3–7 days.
➡️ View Pricing Plans or Get a Custom Quote to start your plan today!
Final Thoughts
Your custom floor plan should reflect your lifestyle, your space, and your future. It’s not just about rooms — it’s about the experience you’ll live every day.
Whether you’re just starting or stuck with an outdated layout, our expert team is here to help you make informed and confident floor planning decisions.


